Tattoo Pain Chart by Placement
Pain varies more by placement than style. This guide gives a practical chart mindset so you can choose a location that matches your first-session comfort level.
By the InkPatterns editorial team · Updated
Pain, healing and aftercare notes are general planning guidance drawn from common artist practice, not medical advice. Follow your artist's instructions and see a doctor for anything that looks infected or does not improve.
| Placement | Typical discomfort | Why | Good first tattoo? |
|---|---|---|---|
| Outer forearm | 2–3 | Muscle padding, thick skin, little movement | Yes |
| Inner forearm | 3–4 | Softer skin, a few sensitive spots near the wrist | Yes |
| Outer thigh | 2–4 | Dense muscle and fat, easy to position | Yes |
| Calf / shin | 3–6 | Calf is padded; the shin sits directly over bone | Calf yes, shin maybe |
| Upper back / shoulder blade | 3–5 | Flat and padded, sharper over the blade itself | Yes |
| Chest / collarbone | 5–7 | Thin skin over the collarbone and sternum | Maybe |
| Spine | 6–8 | Bone and nerves directly under thin skin | Better as a later piece |
| Side of neck / nape | 6–8 | Thin skin, many nerve endings, hard to keep still | Better as a later piece |
| Hand | 7–8 | Bony, thin skin, constant movement while healing | Rarely |
| Finger | 7–9 | Almost no padding; ink also fades faster here | Rarely |
What actually changes how much a tattoo hurts
Four things explain most of the difference between placements: how close the needle runs to bone, how thin the skin is, how many nerve endings sit in the area, and how much the area moves while it heals. Muscle and fat cushion the needle, which is why the outer forearm, outer thigh and upper back consistently sit near the bottom of the chart.
Style and session length matter less than placement, but they are not nothing. Fine line and minimal work usually mean shorter sessions with less repeated passes over the same skin. Dense shading and blackwork spend longer on each area and can feel worse in the same spot.
How to use the chart
Treat the numbers as an ordering, not a score you will feel exactly. If your first tattoo is important to you and you are unsure about your tolerance, choose from the top half of the chart and keep the piece small enough for a single short sitting. If you already know a specific placement is the one you want, plan around it instead: eat beforehand, hydrate, and ask your artist about splitting the work into two sessions.
- Lowest discomfort: outer forearm, outer thigh, upper back, calf.
- Middle: inner forearm, chest, shoulder, upper spine.
- Highest: lower spine, ribs, neck, hands and fingers.
Forearm tattoo ideas to compare
See all forearm tattoos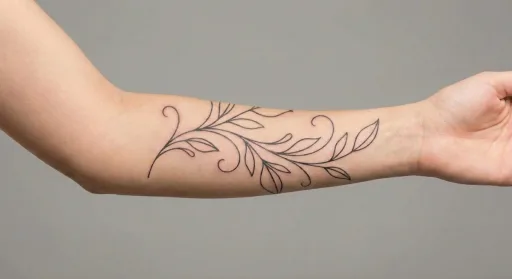
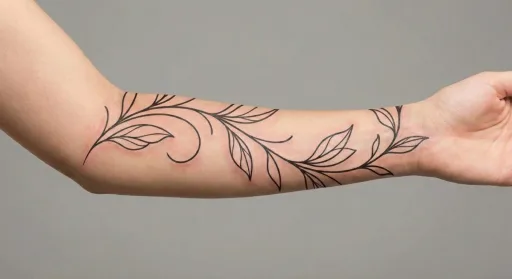
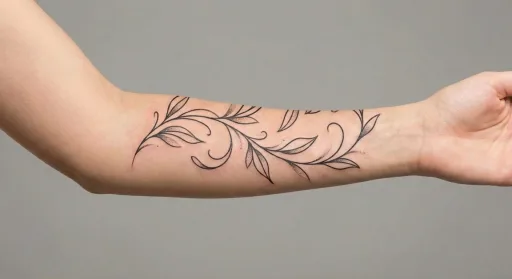
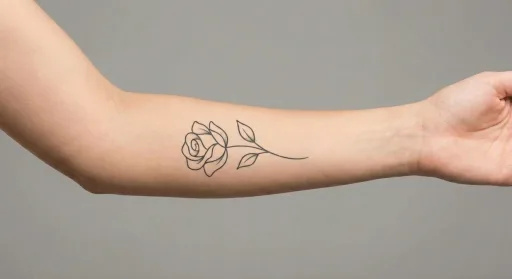
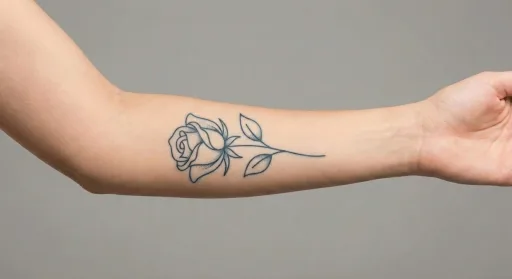

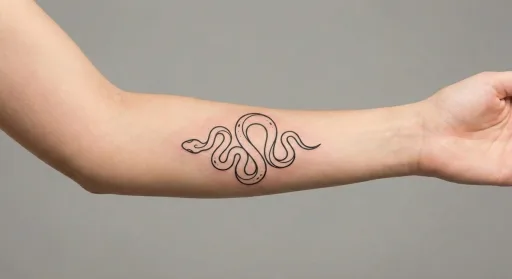
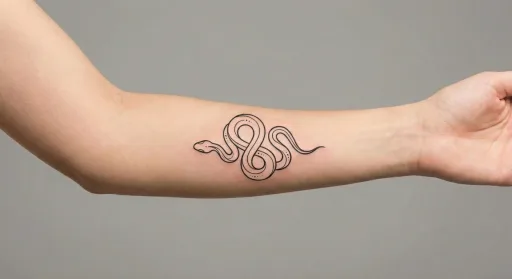
What to expect
Pain tolerance is personal, but predictable factors include skin thickness, movement, and bone proximity. Use the chart as planning support, not an absolute score.
Pain by placement
Lower pain zones often include forearm and thigh. Higher pain zones usually include spine, ribs, and finger areas due to thinner skin and motion.
Choosing a placement
If this is your first tattoo, start with medium-visibility areas that allow easy positioning for both artist and client.
Healing and aftercare
High-friction areas need stricter aftercare discipline. Avoid soaking, reduce rubbing, and keep healing skin protected from sun.
How style changes the experience
Minimal linework generally feels easier than heavy blackwork sessions because machine time and density are lower.